Deploy an ASP.NET Core web app to Azure using Visual Studio
By Rick Anderson, Cesar Blum Silveira
Sections:
Set up the development environment
- Install the latest Azure SDK for Visual Studio 2015. The SDK installs Visual Studio 2015 if you don’t already have it.
주석
The SDK installation can take more than 30 minutes if your machine doesn’t have many of the dependencies.
- Install .NET Core + Visual Studio tooling
- Verify your Azure account. You can open a free Azure account or Activate Visual Studio subscriber benefits.
Create a web app
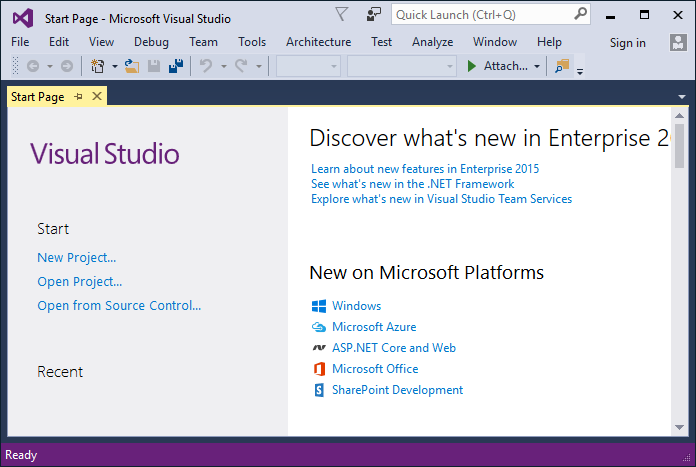
In the Visual Studio Start Page, tap New Project....
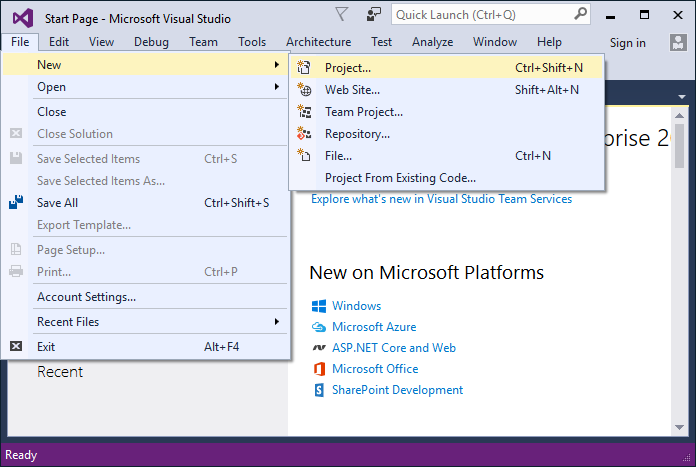
Alternatively, you can use the menus to create a new project. Tap File > New > Project....
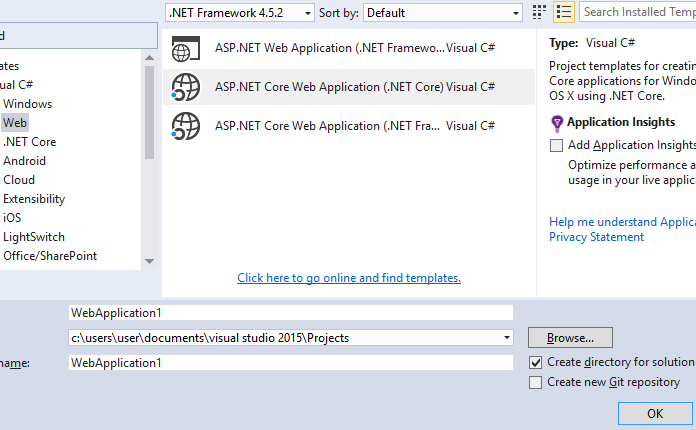
Complete the New Project dialog:
- In the left pane, tap Web
- In the center pane, tap ASP.NET Core Web Application (.NET Core)
- Tap OK
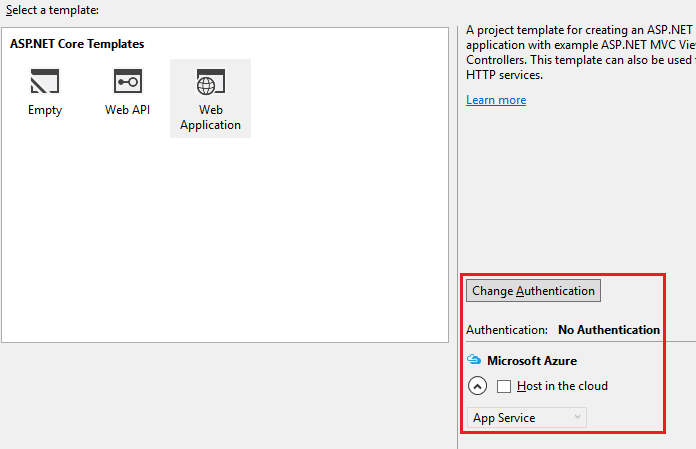
In the New ASP.NET Core Web Application (.NET Core) dialog:
- Tap Web Application
- Verify Authentication is set to Individual User Accounts
- Verify Host in the cloud is not checked
- Tap OK
Test the app locally
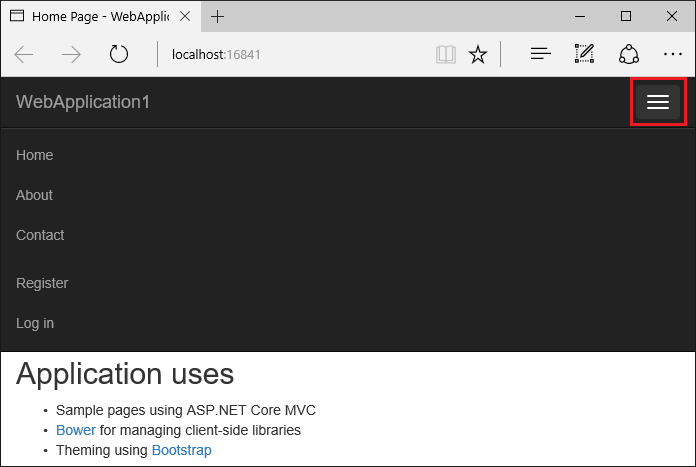
- Press Ctrl-F5 to run the app locally
- Tap the About and Contact links. Depending on the size of your device, you might need to tap the navigation icon to show the links
- Tap Register and register a new user. You can use a fictitious email address. When you submit, you’ll get the following error:
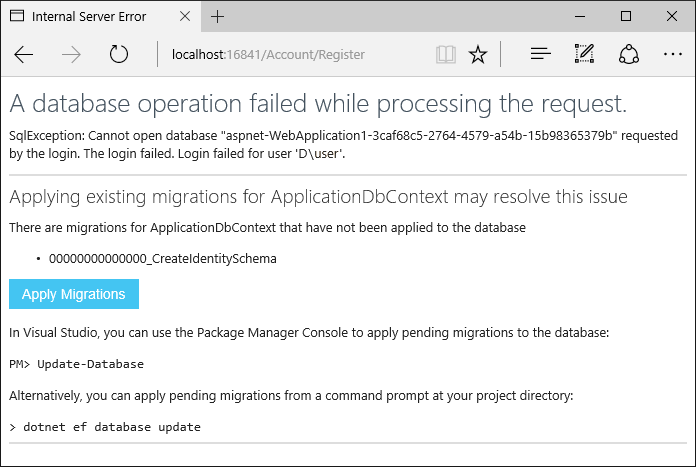
You can fix the problem in two different ways:
Tap Apply Migrations and, once the page updates, refresh the page; or
Run the following from the command line in the project’s directory:
dotnet ef database update
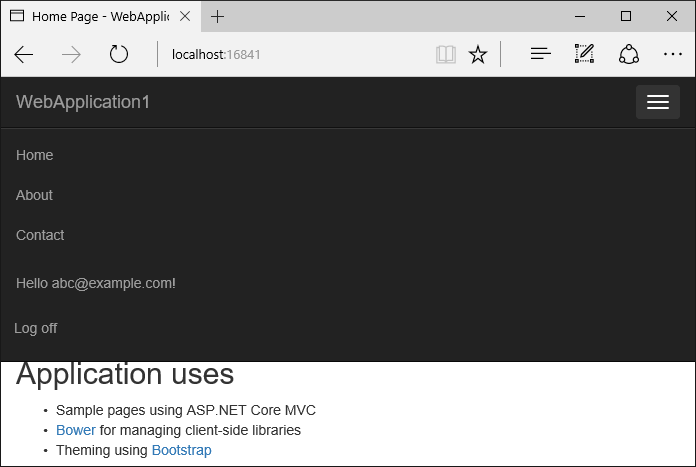
The app displays the email used to register the new user and a Log off link.
Deploy the app to Azure
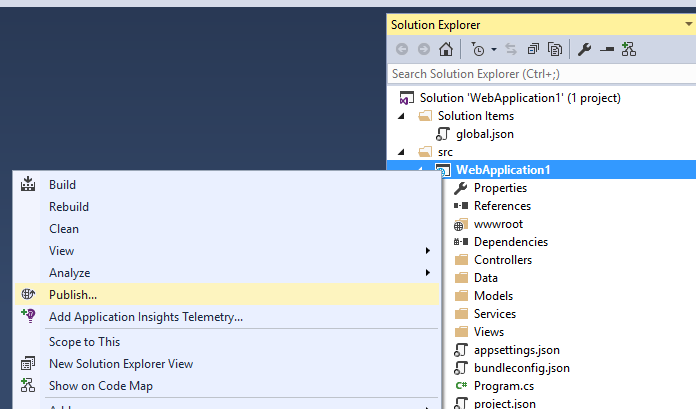
Right-click on the project in Solution Explorer and select Publish....
In the Publish dialog, tap Microsoft Azure App Service.
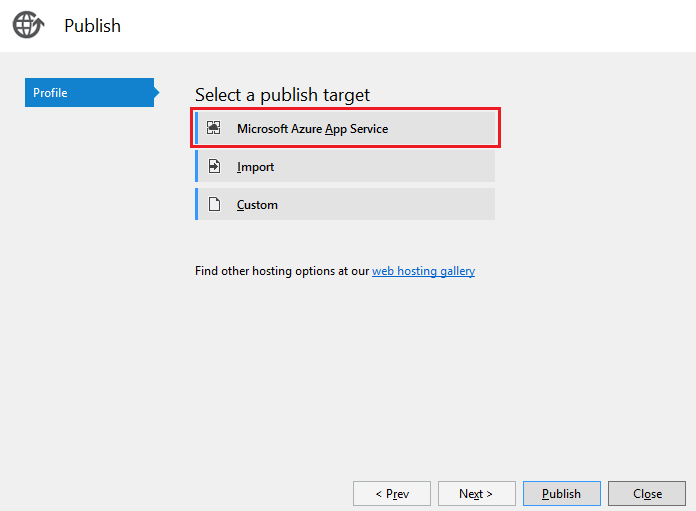
Tap New... to create a new resource group. Creating a new resource group will make it easier to delete all the Azure resources you create in this tutorial.
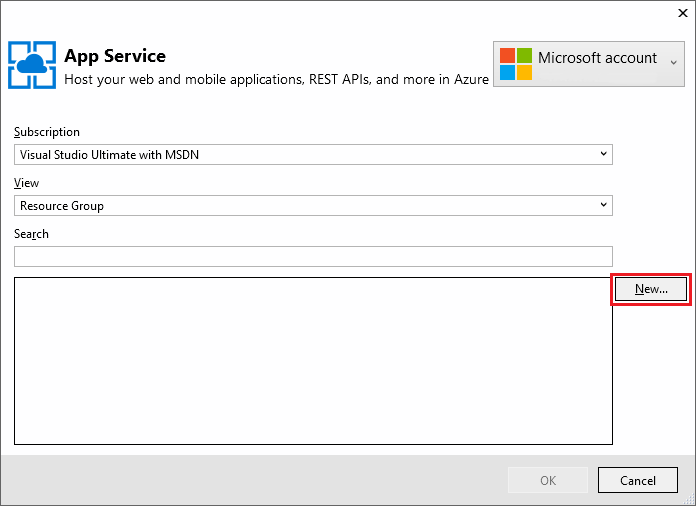
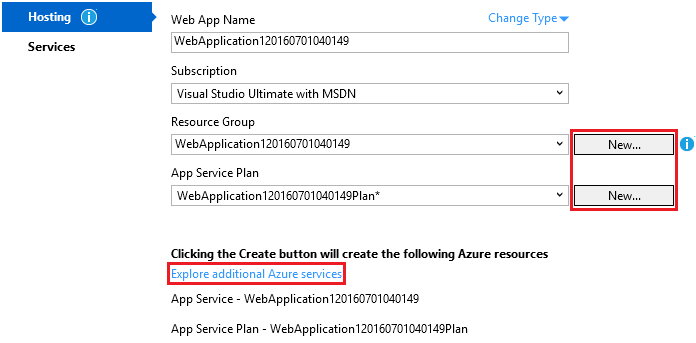
Create a new resource group and app service plan:
- Tap New... for the resource group and enter a name for the new resource group
- Tap New... for the app service plan and select a location near you. You can keep the default generated name
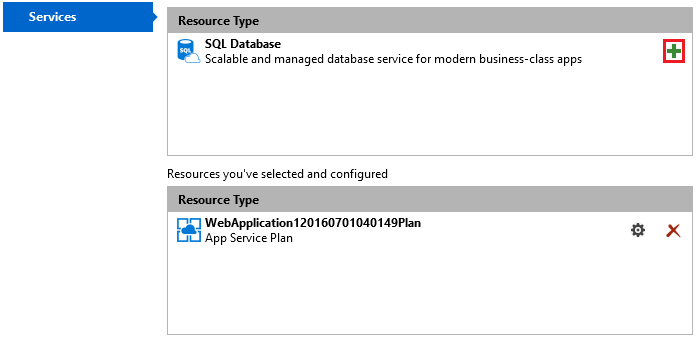
- Tap Explore additional Azure services to create a new database
- Tap the green + icon to create a new SQL Database
- Tap New... on the Configure SQL Database dialog to create a new database server.
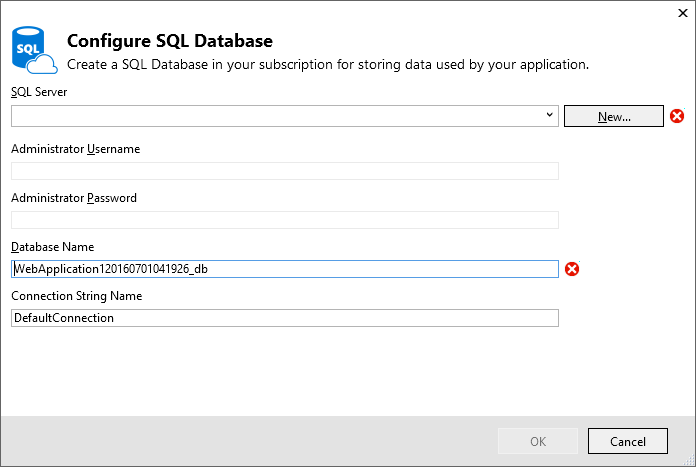
- Enter an administrator user name and password, and then tap OK. Don’t forget the user name and password you create in this step. You can keep the default Server Name
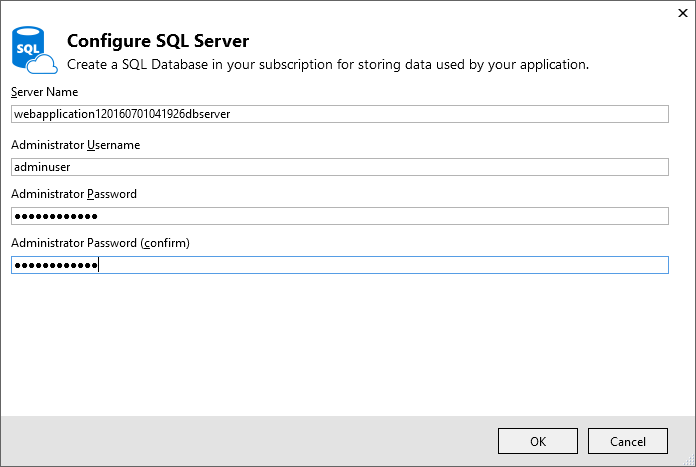
주석
“admin” is not allowed as the administrator user name.
- Tap OK on the Configure SQL Database dialog

- Tap Create on the Create App Service dialog
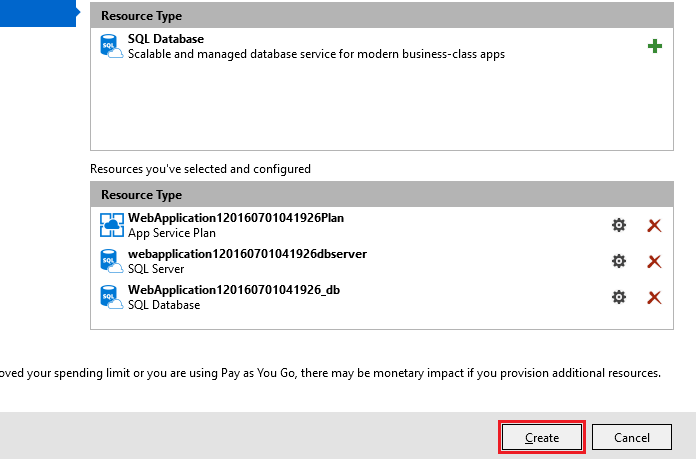
- Tap Next in the Publish dialog
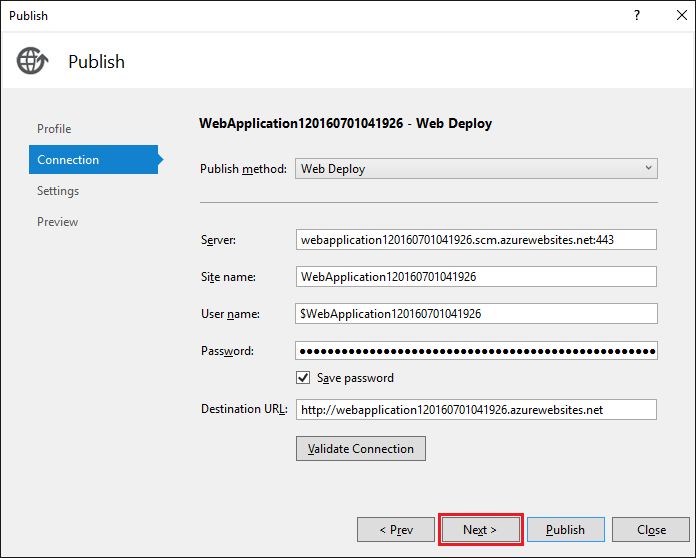
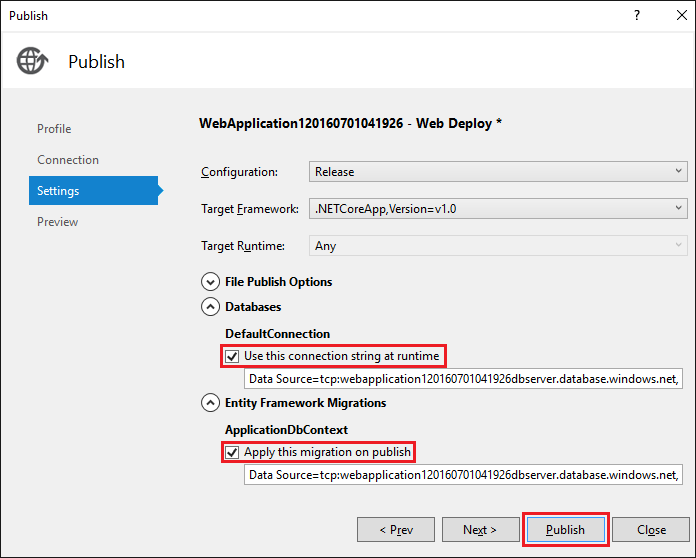
- On the Settings stage of the Publish dialog:
- Expand Databases and check Use this connection string at runtime
- Expand Entity Framework Migrations and check Apply this migration on publish
- Tap Publish and wait until Visual Studio finishes publishing your app
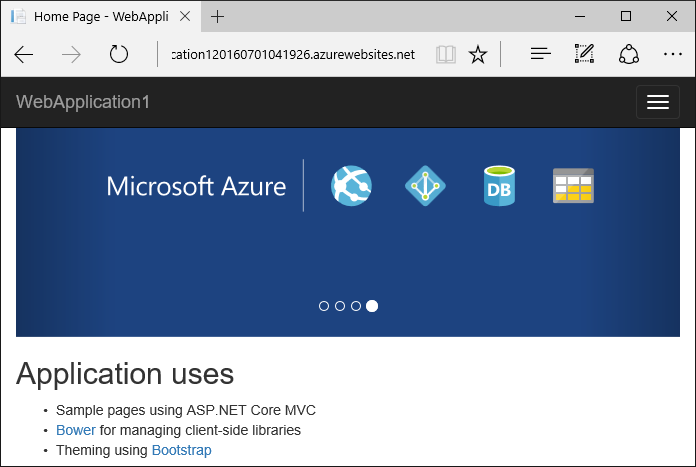
Visual Studio will publish your app to Azure and launch the cloud app in your browser.
Update the app
- Edit the
Views/Home/About.cshtmlRazor view file and change its contents. For example:
@{
    ViewData["Title"] = "About";
}
<h2>@ViewData["Title"].</h2>
<h3>@ViewData["Message"]</h3>

<p>My updated about page.</p>
- Right-click on the project and tap Publish... again
- After the app is published, verify the changes you made are available on Azure
Clean up
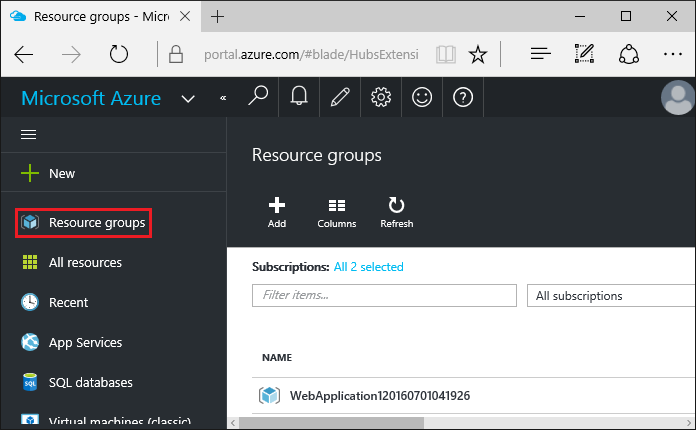
When you have finished testing the app, go to the Azure portal and delete the app.
- Select Resource groups, then tap the resource group you created
- In the Resource group blade, tap Delete
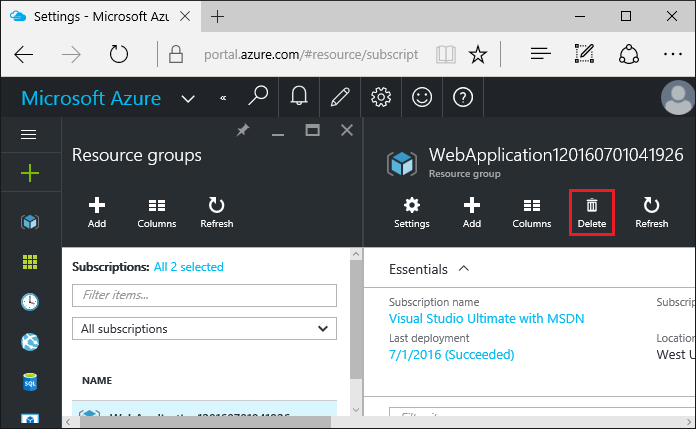
- Enter the name of the resource group and tap Delete. Your app and all other resources created in this tutorial are now deleted from Azure